This school kitchen garden project of Kaushal Bodh book includes 10 engaging activities designed to help 6th-grade students learn about growing plants for food. Through this project, you will develop a kitchen garden on your school campus, using either plant beds or pots.
Activity 1: Visit to an agricultural farm/nursery/garden to interact with the farmer/nursery worker/gardener/expert.
Q1. Which plants are being grown?
Ans. Typically kitchen garden focus on growing herbs, vegetables, and fruits that are compact, easy to care for, and mature quickly. So vegetables and herbs like chilli, tomato, brinjal, radish, carrot, coriander, holy basil, mint, etc.. are being grown in the kitchen garden.
Q2. Were all the plants planted at the same time? If not, why?
Ans. No, all the plants are not planted at the same time because different plants need different weather, soil, space, and time to grow.
Q3. Can all the plants grown in a kitchen garden ? Yes/No
Ans. No, not all plants can be grown in a kitchen garden due to different space, climate, or soil needs.
Q4. How is the soil prepared for sowing or planting?
Ans. Soil is prepared by removing trash and rocks, digging & loosening soil, adding compost or manure to make the soil fertile, levelling & smoothening the ground, & adding fertilizer for nutrients.
Q5. How are the plants provided nutrition in addition to what they get from the soil?
Ans. Plants get extra nutrition from fertilizers, compost (decay leaves & vegetable waste), manure (animal waste), sunlight, & water. These help plants grow strong, healthy, and produce more fruits and vegetables.
Q6. How can plants be protected from any kind of harm from animals & pests?
Ans. Plants can be protected from harm by-
- Using fences to keep Animal Away
- Spraying Neem Oil to repel pests
- removing weeds that attract pests.
Activity 2: Planning your school kitchen garden
Q1. Are you planning to make your school kitchen garden in the land available in school or in pots or both?
Ans. I am planning to make my school kitchen garden in the land available in my school.
Q2. How are you going to calculate the area of your kitchen garden?
Ans. Measure the length (L) and width (W) in meters and then multiply the length & width
Area = L x W
Q3. What factor did you consider when selecting a location for the garden?
Ans. When selecting a garden location, we consider:
- Sunshine
- Water Source
- Good Soil
- level ground
- protection from wind/flood
Activity 3: Making vermicompost
Q1. Which materials you used to make the vermicompost?
Ans. To make vermicompost, we use kitchen waste, fallen leaves, biodegradable waste, soil, water, earthworms, and organic waste.
Q2. What type of food scraps did you add to the bin?
Ans. The food scraps such as fruit and vegetable peeling, coffee grounds, egg shells, and non-greasy food should be added to the bin.
Q3. What changes did you notice in the compost bin over a period?
Ans. Over a period, these changes occur in the vermicompost:
- Initial Stage (0-2 weeks): Worm settles down and starts breaking down waste; bin smells sour.
- Decomposition Stage (2–6 weeks): Waste breaks down turning into a dark, crumbly mixture; the bin smells earthy.
- Maturation Stage (6-12 weeks): Compost becomes dark, fine, and uniform, indicating that it is ready for use.
Activity 4: Preparing the kitchen garden for planting.
Q1. How did you prepare the soil for planting?
Ans. Soil preparation involves clearing the soil of any debris, rocks or unwanted plants & mixing manure with soil.
Q2. Did you use organic organic manure? If yes, what proportion did you use for mixing organic manure with soil ?
Ans. Yes, we used organic manure. We mixed 10-20% organic manure 1with 80-90% soil. Example: 2kg organic manure + 8kg soil.
Activity 5: Sowing seeds and planting of seedlings
Q1. How deep did you plant each type of seed ?
Ans. Table 1.1 Data on seed sowing depth
| S.no | Name of plant | Seed Sowing Depth (centimeter) |
| 1. | Tomato | 0.5 – 1 cm |
| 2. | Carrot | 1 – 1.5 cm |
| 3. | Radish | 1.5 – 2 cm |
| 4. | coriander | 1 – 1.5 cm |
Q2. How much space did you leave between one plant and the other? Use table 1.2 to fill the information.
Ans. Table 1.2 Maintaining data on plant to plant space.
| S.no | Name of plant | Plant to Plant space ( centimeter) |
| 1. | Tomato | 30 – 60 cm between plant, 90 cm between row. |
| 2. | Carrot | 5 – 7 cm between plants, 20 – 30 cm between row. |
| 3. | Radish | 5 – 10 cm between plants, 20 – 30cm between row. |
| 4. | Corian | 20 cm between plants , 25 – 30 cm between row. |
Activity 6: Taking Care of plants
1. Making a fence
Q1. What are the materials that you will use for fencing?
Ans. We will use bamboo or wooden sticks for using them as ‘poles’ and use a strong string to bind the poles and make the fence.
Q2. How many poles and the length of string will you need for fencing,.
Ans. For a Rectangular kitchen garden of 10 feet by 15 feet,
- The number of poles needed = 10 (Assuming poles are spaced 5 feet apart)
- Length of string required = 58 feet.
2. Steps for plant care & Maintenance
Q1. How do you know when a plant needs water?
Ans. We Can tell that a plant needs water when the soil becomes dry and the leaves droop, look dry or Start turning yellow.
Q2. How often do you need to water your plants?
Ans. It depends on the type of plant, the weather and the Soil. Most plant need water 2 – 3 timesin hot weather and less in cooler weather. Always check the soil to see if it’s dry before watering.
Q3. What is the best time for watering plants ?
Ans. The best time to water plant is early in the morning or late afternoon to minimize water loss due to evaporation.
Q4. What factors influence the quantity and frequency of watering?
Ans. The quantity and frequency of watering depend on plant type, soil type, weather and plant size. For example big plants or sandy soil need more water, while rainy days need less.
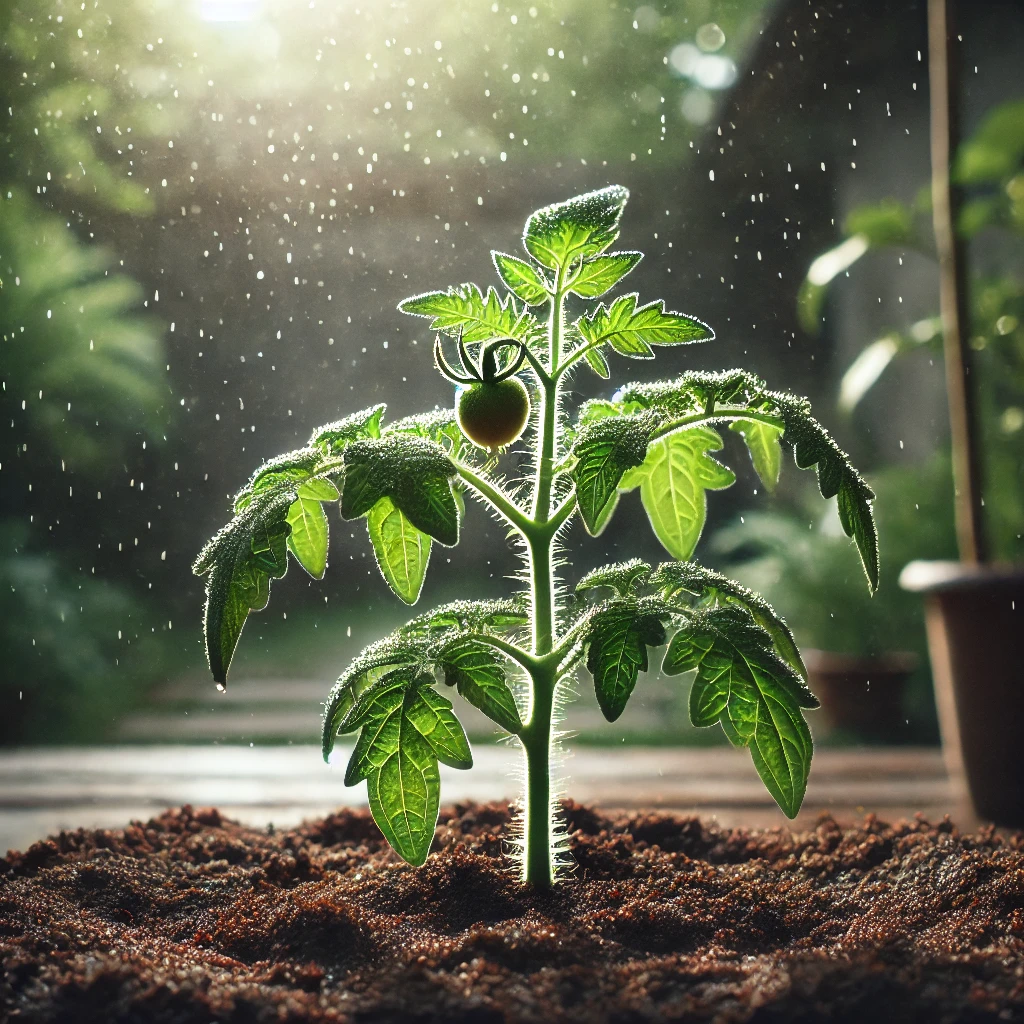
Activity 7: Observing your plants grow
Table 1.3: Observations of plants as they grow in the kitchen garden
| Date of Observation | Observations |
| Week 1 (Date: 15 Jan) | Seeds germinated in 5-7 days. Tiny green sprouts appeared. Soil was kept moist. No pests seen. |
| Week 2 (Date: 22 Jan) | Plants grew to 3-5 cm tall. Cotyledon leaves visible, first true leaves started forming. No pests observed. |
| Week 3 (Date: 29 Jan) | Plants grew 7-10 cm tall. True leaves fully developed, dark green. No flowers yet. Slight pest activity (small insects) noted. |

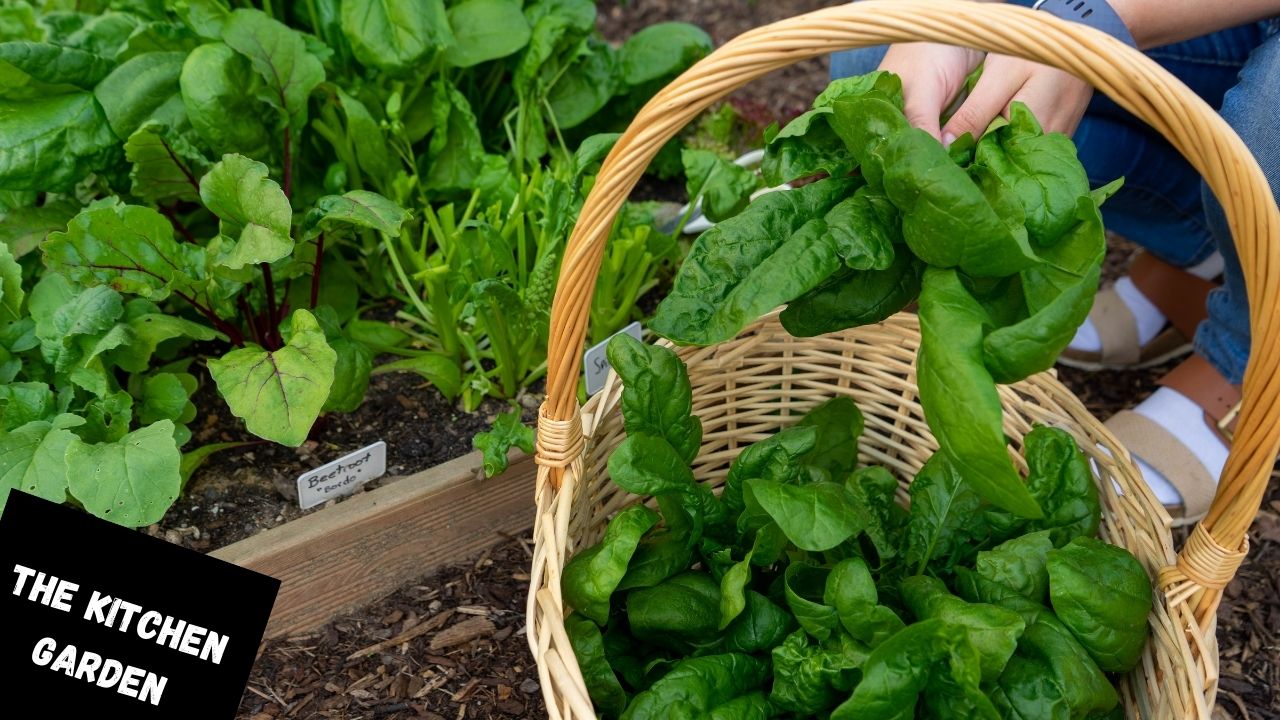
Activity 8: Harvesting
Q1. Which crop(s) you harvested?
Ans. The crops that are harvested :
- (a) Tomatoes
- (b) Carrots
- (c) Spinach
Q2. How did you know they were ready for harvesting?
Ans. (a) The tomatoes turned red and became firm.
(b) The carrots had grown to a good size and their tops were visible above the soil.
(c) The spinach leaves were large, green, and healthy.
Q3. Which tools did you use to harvest the plants?
Ans. The tools that were used for harvesting are:
- Garden scissors for cutting spinach leaves.
- Small hand trowel for pulling out carrots.
- Harvesting knife for cutting tomatoes.
Q4. What precautions you took to avoid damaging the plants while harvesting?
Ans. The following precautions were taken while harvesting:
- Used sharp tools to make clean cuts and avoid harming the plant.
- Pulled root vegetables gently to avoid breaking them.
- Handled delicate fruits carefully to prevent bruising.
Q5. What did you do with the produce after harvesting from the kitchen garden?
Ans. The following things are done with the produce after harvesting from the kitchen garden:
- Washed the vegetables thoroughly to remove dirt.
- Sorted and stored them properly to keep them fresh.
- Used them in cooking fresh meals for the family.